When you open a new MacBook and install Java, the first real decision is which IDE to use. On macOS, IntelliJ IDEA feels native—it uses the menu bar, integrates with Keychain, and runs in the Unix terminal. But Eclipse is still common in big companies, and NetBeans offers a gentler learning curve. The right pick depends on what you're building: desktop apps, Android projects, or cybersecurity labs.
What to Look for in a Java IDE on macOS
Before comparing specific tools, consider these criteria that matter for a beginner on Apple Silicon or Intel Macs:
- Apple Silicon compatibility — The IDE must run natively on M1, M2, and M3 chips without Rosetta overhead.
- Integrated terminal — A built-in terminal lets you compile, run, and test Java code without switching windows.
- Debugger and profiler — Essential for understanding how your code behaves and for detecting memory leaks early.
- Plugin ecosystem — Look for security-oriented plugins such as SpotBugs, SonarLint, or Checkstyle that enforce safe coding practices.
- Learning curve — A clean interface with sensible defaults reduces frustration for newcomers.

IntelliJ IDEA Community Edition — The Top Pick for Most Beginners
JetBrains’ IntelliJ IDEA Community Edition is free, open-source, and often called the smartest Java IDE. On macOS, it feels like a first-class citizen — it uses the native menu bar, supports Touch Bar shortcuts, and runs smoothly on both Intel and Apple Silicon. The Community edition includes all the core features: smart code completion, refactoring tools, a visual debugger, and built-in Git integration.
For cybersecurity learners, the IDE’s static analysis (inspections) can catch common vulnerabilities like SQL injection or insecure deserialization patterns if you enable the appropriate rules. You can also install the Security Plugin by JetBrains to highlight potential risks directly in the editor. IntelliJ also has excellent support for Maven and Gradle, which you will use to manage dependencies in security testing labs.
The main drawback is that the Community edition lacks Spring, Hibernate, and enterprise frameworks — but as a beginner, you do not need those yet. When you do, you can upgrade to the paid Ultimate edition or switch to another IDE.
Eclipse IDE — Still Relevant for Mac Users
Eclipse is the veteran of Java IDEs. The Eclipse IDE for Java Developers package is free and works on macOS, though it feels less “Mac-like” than IntelliJ. Its plugin system is powerful but can be overwhelming. For beginners, Eclipse’s workspace concept and the need to manually configure JDK paths can be a hurdle. However, Eclipse excels at large-scale refactoring and has a mature debugger.
From a security perspective, Eclipse supports the FindBugs plugin (now SpotBugs) and the PMD static analyzer. These tools help you write safer code by flagging null pointer dereferences, resource leaks, and other common flaws. If you plan to work in a corporate environment that already uses Eclipse, learning it early gives you an edge. But for a solo learner on a Mac, IntelliJ is usually less frustrating.
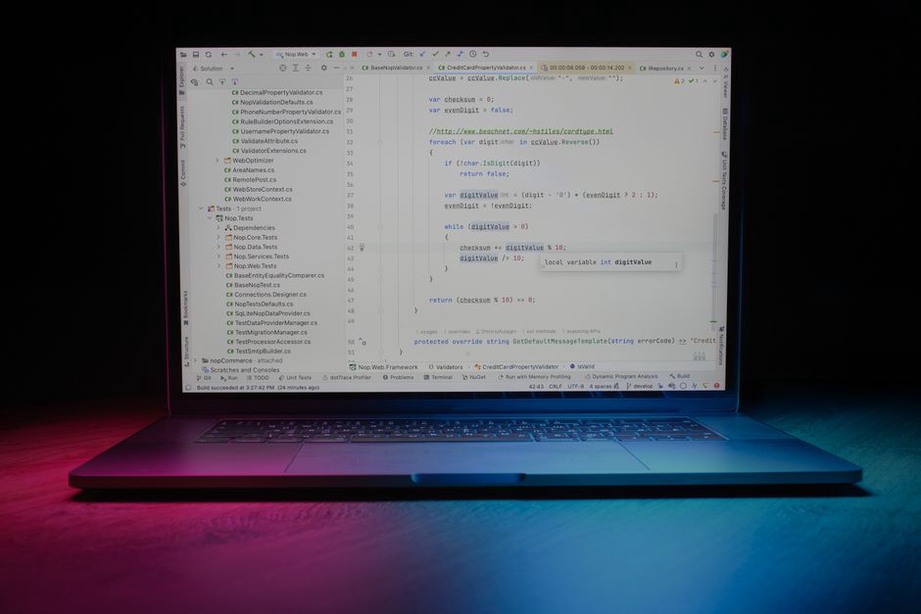
NetBeans — The Underrated Choice for Structured Learning
Apache NetBeans is often overlooked, but it is surprisingly beginner-friendly on macOS. It installs via Homebrew (brew install netbeans) and comes with a built-in Ant build system, a visual GUI designer (for Swing/JavaFX), and a profiler that works out of the box. NetBeans has the shallowest learning curve among the three major IDEs — you can create a project, write code, and run it without touching any configuration files.
For security-focused learners, NetBeans includes a Code Analyzer that checks for common vulnerabilities, and it integrates with the SonarQube scanner for continuous inspection. The IDE also has a handy “Hint” system that explains why a certain pattern is unsafe. If you want an IDE that does everything without extra setup, NetBeans is worth a try.
Visual Studio Code with Java Extensions — Lightweight Alternative
VS Code is not a dedicated Java IDE, but with the Extension Pack for Java (by Microsoft) and the Language Support for Java by Red Hat, it becomes a capable editor. It is extremely fast on Mac, uses minimal RAM, and supports debugging, testing, and Maven/Gradle integration. The terminal is first-class, and you can run shell commands directly inside the editor.
The trade-off is that VS Code lacks the deep refactoring and inspection intelligence of IntelliJ. You also need to install multiple extensions manually. For cybersecurity beginners who want a lightweight environment for quick scripting or small lab exercises, VS Code is a solid choice. It also pairs well with the SonarLint extension for real-time vulnerability detection.
Comparison Table: Key Features at a Glance
| Feature | IntelliJ IDEA CE | Eclipse | NetBeans | VS Code + Extensions |
|---|---|---|---|---|
| Price | Free | Free | Free | Free |
| Apple Silicon native | Yes | Yes (via .dmg) | Yes (via Homebrew) | Yes |
| Built-in debugger | Excellent | Good | Good | Good (with extensions) |
| Security plugins | SpotBugs, SonarLint, Security Plugin | SpotBugs, PMD | Code Analyzer, SonarQube | SonarLint, CodeQL |
| Learning curve | Moderate | Steep | Shallow | Moderate |
| Best for | General Java + security labs | Enterprise prep | Absolute beginners | Lightweight / quick tasks |
Setting Up Your IDE Securely
Regardless of which IDE you choose, a few security practices apply to all of them on macOS:
- Always download the IDE from the official website or Homebrew — never from third-party mirrors.
- Enable automatic updates to receive security patches for the IDE itself.
- Use a dedicated Java Development Kit (JDK) for learning; avoid using the system JRE. Install JDK 17 or 21 LTS via
brew install openjdk@17. - Configure the IDE to save files locally only; disable cloud sync for projects that contain sensitive code or lab data.
- If you work on network-based labs, use the IDE’s built-in terminal instead of an external one to keep session logs contained.
For a deeper understanding of how memory addresses and pointers work in Java (and why they differ from C/C++), you may find our guide on Understanding Addresses in Programming and Cybersecurity: IP, MAC, and Memory helpful — it clarifies the conceptual gap between managed and unmanaged languages.
Final Recommendation for Mac Beginners
Start with IntelliJ IDEA Community Edition. Download it from JetBrains’ website, install the JDK via Homebrew, and create your first “Hello, World” project. Run it from the IDE’s terminal to confirm the environment works. Once you are comfortable, open the terminal inside IntelliJ and type java --version to verify your JDK. Then create a new project, write a simple loop, and step through it with the debugger. That hands-on session will show you how Java actually executes—more than any tutorial can.