Your Java class compiles in the terminal, but the editor underlines it as an error. Before rewriting the class, check the editor’s project setup. An IDE needs to know which JDK to use, where the source files are, and how to run the program. For a first IDE, pick one that makes those settings easy to find without adding more setup than your course or project needs.
Start with the JDK, not the IDE
The Java Development Kit (JDK) includes the compiler and other tools used to build Java programs. The IDE gives you an interface for editing code and using those tools; installing an IDE does not always install the JDK you need. Check which Java version your course requires and install a compatible JDK. If you’re learning on your own, a current long-term-support JDK is a sensible place to start.
Run java -version and javac -version in a terminal. Both should show the version you mean to use. Then check the IDE’s project SDK or Java runtime setting: it may point to a different JDK. That difference can cause trouble when your code uses a language feature the selected version does not support.
What an IDE should do for a beginner
A good first IDE lets you create a project, run a small program, locate compiler errors, and pause at a breakpoint without a long configuration session. Autocomplete and quick fixes are useful, but you should still be able to tell a compiler error from an exception at runtime or a failed test.
- Project creation: Can you create a plain Java project without choosing a framework you don’t need?
- JDK selection: Can you find and change the Java version for the project?
- Error feedback: Does a compile failure show the file, line, and error message?
- Debugging: Can you set a breakpoint and inspect a variable?
- Resource use: Does the IDE stay responsive with your browser and course material open?
You don’t need the IDE with the longest feature list. You need one that runs your exercises reliably and lets you understand what went wrong when they fail.
Three practical starting points
IntelliJ IDEA Community Edition
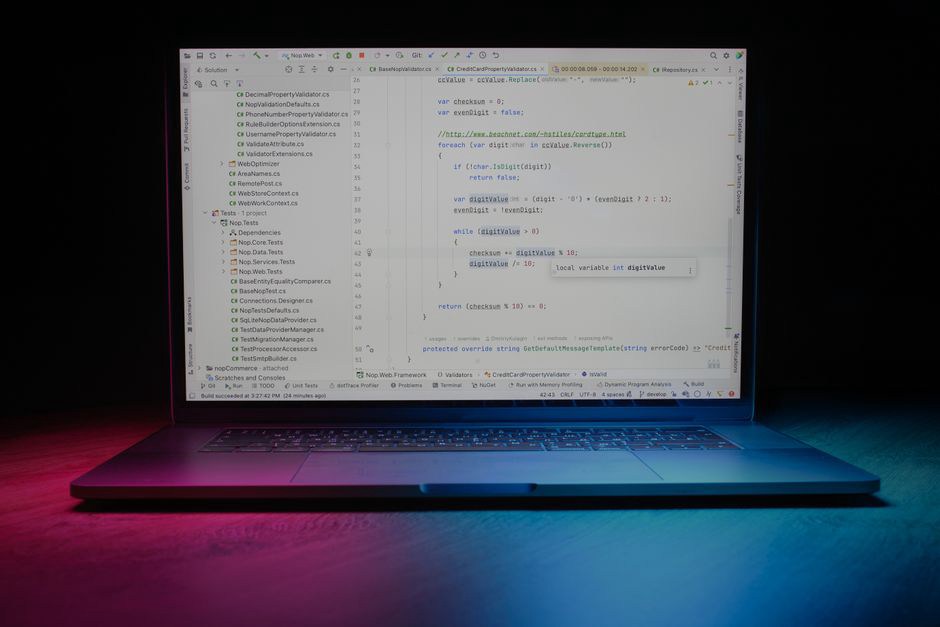
IntelliJ IDEA Community Edition is a solid choice for learning general Java. It offers Java-aware completion, refactoring tools, a debugger, and support for common project layouts. Its project setup usually makes JDK selection easy to find. There are plenty of menus to learn, though, and indexing a new project can take a while on a modest computer. The free Community Edition is enough to write and debug introductory programs.
Eclipse IDE
Eclipse is common in Java courses and established projects. Its workspace model can hold multiple projects, and its Java tools provide detailed compiler feedback and debugging. The distinction between the workspace—the area Eclipse manages—and a project’s files can trip up new users. Check where your project is stored before submitting an assignment or using Git. If your instructor provides Eclipse project files and screenshots, using Eclipse may spare you translation work.
Visual Studio Code with Java extensions
Visual Studio Code is a lightweight editor until you add Java support. An appropriate Java extension pack adds project creation, completion, running, testing support, and debugging. It’s convenient if you already use the editor for other languages, but installing extensions and getting JDK detection right take extra steps. Opening one .java file may also behave differently from opening its project folder, especially when dependencies are involved.
There are simpler teaching environments too. Use one if your class requires it. Otherwise, these three options will also serve you when you move to larger Java projects.
Let the project decide when it has requirements
Look at the files you need to open before installing several IDEs. A course starter project may come with instructions for a particular IDE; following them can save time if grading instructions or screenshots assume the same layout. A pom.xml indicates Maven, while build.gradle indicates Gradle. All three IDE choices can work with these build tools. Let the build file define the dependencies rather than adding library files by hand.
The build tool and IDE have different jobs. Maven or Gradle describes how the project is built; the IDE is where you edit, run, and debug it. If a project has a build file, try its documented terminal build command as well as the IDE’s Run button. When one works and the other does not, check the IDE’s JDK and project import settings before changing the source code.
For a first exercise with no dependencies, make a plain Java project. You don’t need a web framework, application server, or module template just because one appears in the setup menu. A source directory and one class are enough to test your environment.
Run a ten-minute trial before committing
Install one candidate IDE and give it the same small task you’d give any alternative. You’ll learn more from using it than from comparing feature lists.
- Create a plain Java project named HelloJava. Confirm the selected JDK version in the project settings.
- Add a Main class with a main method that prints a short message. Run it and find the output.
- Introduce a compile error, such as a missing semicolon. Read the message, then fix the error.
- Set a breakpoint on the print statement. Start the debugger, inspect a variable, and resume execution.
- Close the project and reopen it from its folder. Check that it still runs without recreating the configuration.
That last step catches a common source of confusion: a tool may make one file easy to run without making it clear where the whole project lives. You’ll need that folder for backups, Git, and assignment submissions. If the trial feels confusing, repeat it in a second IDE instead of moving a half-configured large project.
Common setup problems that are not Java problems
The Run button is unavailable: Check that the project has a JDK configured and that your class has a valid public static void main(String[] args) entry point. Make sure you opened the project folder, not just a source file.
The IDE cannot find a package or dependency: Check that the file is in the project’s source directory and that its package declaration matches its location. For Maven or Gradle projects, import or refresh from the build file rather than copying dependencies into a folder yourself.
The terminal and IDE behave differently: Compare their JDK versions and working directories. If a program reads data.txt with a relative path, it looks for the file relative to the process’s working directory. That directory may differ between a terminal session and an IDE run configuration.
The machine slows down: Close unused projects and try a smaller workspace. Indexing, background builds, and extra extensions use memory. If the IDE is still sluggish, an editor with Java extensions—or a text editor and the terminal—may suit that computer better.
Keep the setup understandable and safe
Get the IDE, JDK, and extensions from their official distribution channels or your organization’s approved software source. Check extension names and publishers before installing them; you don’t need a pile of plugins to learn Java. Keep the JDK and IDE updated, especially when opening projects from other people.
Treat a downloaded Java project as code, not a document. Build scripts, plugins, and run configurations can execute commands on your computer. For coursework or practice repositories, inspect unfamiliar build files and avoid running projects from sources you don’t trust. Your first IDE trial only needs a local practice project you created yourself.
Before starting an assignment, write down where the project folder is and which JDK path the IDE selected. If an import fails later, you’ll have two concrete settings to check first.