A Java source file does not run on its own. Before you can execute a .java file, it must be compiled into bytecode and run with a compatible Java runtime. Install a current Java Development Kit (JDK) first, then confirm that java --version and javac --version work in a terminal. Doing this early avoids a common setup problem before you write your first class.
Start with a current JDK
The JDK is the main toolset for Java development. It includes the compiler (javac), the Java launcher (java), standard libraries, documentation tools, and diagnostic utilities. A Java Runtime Environment may be enough to run some applications, but you need a full JDK to write and compile code.
Choose a current long-term-support release when possible. LTS versions receive maintenance for longer and are common in courses and workplaces. Until you need to check compatibility, avoid installing several unrelated JDK versions. A confusing PATH configuration can leave your editor compiling with one version while your terminal uses another.
Verify the installation in a terminal:
java --version
javac --version
The reported major versions should usually match. Leave the JDK in its official installation directory instead of copying individual files into project folders. Updates, troubleshooting, and removal are much easier that way.
Use an editor that shows what Java is doing
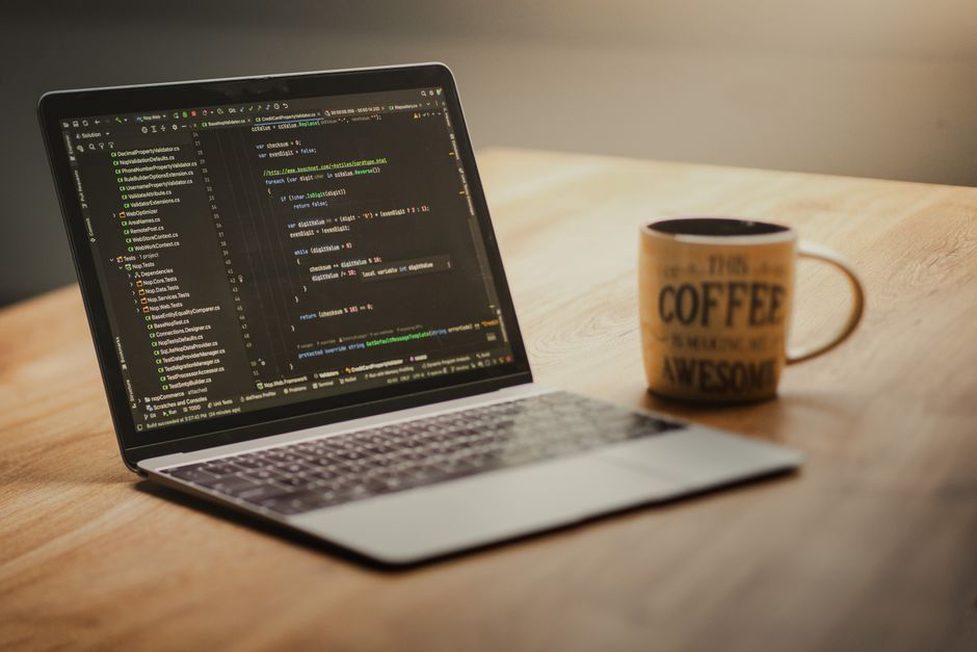
A basic editor is enough for very small exercises, but a Java-aware integrated development environment (IDE) quickly becomes useful. An IDE understands project structure, imports, types, compiler messages, and test code. For beginners, helpful features include autocomplete, safe rename refactoring, jump-to-definition, formatting, and an integrated debugger.
Three common options suit different stages of learning:
- A full Java IDE: useful for multi-file projects, unit tests, build tools, and debugging. It manages classpaths and project settings through its interface.
- A lightweight editor with Java extensions: a good fit if you prefer a simpler interface and do not mind configuring a few tools yourself.
- The terminal plus a plain editor: useful for learning how compilation and command-line arguments work, especially in your first exercises.
You do not need to understand every panel in an IDE. Start a small project, locate the run button, open the terminal, set a breakpoint, and inspect an error. That will teach you more than spending time on themes and plugins.
Learn the command line alongside the IDE
An IDE can hide commands that are useful to recognize. For a simple file named Hello.java, compile and run it from the file's directory:
javac Hello.java
java Hello
If the class is declared as public class Hello, the filename and class name must match exactly, including capitalization. This small workflow makes later problems with packages, paths, and build output easier to understand. On Linux and macOS, filename capitalization matters, so code that works on one computer can fail after being moved to another.
Choose a terminal that supports repeatable work
The terminal is useful for more than compiling. It gives you a consistent way to inspect directories, run tests, use Git, pass arguments to programs, and repeat a command reported by a build system. Windows users can work in a modern terminal with PowerShell, while macOS and Linux include capable terminals by default.
Keep commands simple, and do not paste unreviewed shell commands from forums or videos. Commands involving rm, recursive deletion, or administrative privileges can affect files outside your practice project. Use a dedicated directory such as java-practice, and check your current directory before running commands that create, overwrite, or remove files.
Version control is a learning tool, not just a team tool
Git records changes to source code over time. For beginners, its biggest benefit is the freedom to experiment. Make a small, clearly named checkpoint before refactoring a class or trying a new data structure. If the experiment breaks the project, you can compare the changes or restore the last working version.
A practical minimum workflow is:
- Create a repository in the project directory.
- Add a
.gitignorefile for IDE settings and generated build output. - Commit source files, tests, and project configuration with a meaningful message.
- Review changed files before each commit, especially when using an IDE's built-in Git view.
Do not commit passwords, API keys, personal tokens, or configuration files containing secrets. Use sample values and local environment variables instead. Even a private repository can expose information by accident.
Build tools become useful when projects grow
Java projects often use build automation to compile code, run tests, package applications, and retrieve declared libraries. Maven and Gradle are the two tools beginners encounter most often. At first, use whichever tool your course or starter project already uses instead of trying to learn both at once.
A build descriptor lists dependencies by name and version, so the same project can be built consistently on another machine. This is cleaner than downloading random JAR files and adding them manually to an editor's classpath. Dependencies are still code that runs in or alongside your project, so add only packages needed for the exercise, use reputable repositories configured by the tool, and keep versions maintained.
| Tool category | What it solves | Best time to introduce it |
|---|---|---|
| JDK | Compiling and running Java | Before the first program |
| IDE or editor | Writing, navigating, and debugging code | From the first exercises |
| Git | Tracking and recovering changes | With the first ongoing project |
| Maven or Gradle | Repeatable builds and dependencies | When projects use libraries or tests |
| Test framework | Checking expected behavior automatically | As methods become more complex |
Make testing part of normal practice
A test framework such as JUnit turns an expectation into executable code. Rather than manually checking whether a method returns the correct value for one example, write tests for normal, boundary, and invalid inputs. Tests are especially helpful while learning because they can separate a mistaken assumption from a typo or setup issue.
For example, a method that calculates a discount should be tested with zero, a normal price, and a negative price that should be rejected. Keep tests readable: cover one behavior per test, use clear names, and state expected values explicitly. A failing test is evidence to investigate, not a reason to change the expected value until it passes.
Use the debugger before adding print statements everywhere
System.out.println() is helpful for quick checks, but a debugger lets you inspect program state without repeatedly changing the source code. Set a breakpoint on a suspicious line, run the program in debug mode, and inspect local variables when execution pauses. Step over a line to see its result; step into a method only when you need to examine its internal logic.
Start with code you can follow easily: a loop counter, a conditional branch, or a list being populated. Avoid changing variables in the debugger while diagnosing a problem, because that can hide the path the program actually took. First observe the failure accurately, then make a source change.
Use documentation and small practice projects
The Java API documentation is the reference for classes, methods, parameter types, return values, and exceptions. Get used to checking a method's contract instead of guessing from its name. This matters particularly when working with collections, strings, dates, files, and input handling, where edge cases are easy to miss.
Combine reference reading with focused projects: a command-line expense tracker, a text-based quiz, a file parser using harmless sample data, or an in-memory library catalog. Give each project one main learning goal. A quiz can help you practice loops and methods, while a file parser can introduce exceptions and resource handling. A narrow scope also makes it easier to tell tool problems apart from programming mistakes.
A compact setup checklist
- Install one supported JDK and verify both
javaandjavac. - Configure one Java-capable IDE or editor.
- Create a dedicated practice directory and initialize Git.
- Run one class from both the IDE and the terminal.
- Add one automated test and pause once at a debugger breakpoint.
For a useful first checkpoint, create a TemperatureConverter class with a pure conversion method. Write tests for freezing and boiling points, commit the working version, then deliberately change one formula constant. Use the failing test and debugger to identify where the result differs from what you expected.