
A freshly washed bike can hide an expensive repair. Clean paint will not tell you whether the headset is loose, the chain is worn or a wheel rubs the frame under load. Before agreeing on a price, arrange to see the bike in daylight, leave time for a short ride and bring a small light to check joints and other hard-to-see spots.
Confirm that the bike fits your riding
Start with the kind of riding you plan to do. A road bike with narrow tires may be awkward on rough paths, while a mountain bike can feel slow on a long paved commute. Check that the frame has room for the tires, luggage or mudguards you need. Mounting points and tire clearance vary by model; accessories may not fit later.
A frame-size label is only a starting point because geometry differs between brands. Stand over the bike with both feet on the ground and make sure you clear the top tube comfortably. On a short ride, you should be able to reach the bars and brakes without stretching, and pedal without your knees hitting the bars. You can usually adjust saddle height, but a frame that is much too long or short is harder to put right. Check that the seatpost reaches your riding position without going past its marked insertion limit.
Ask for the model name and approximate year before meeting. You can then check the original specification and see whether unusual replacement parts might make repairs harder. For an e-bike, identify the motor and battery system too: a low price may look less appealing if the battery needs replacing.
Establish ownership and understand the history
Ask how long the seller has owned the bike, what work it has had and why they are selling it. A receipt, maintenance record or original purchase details can support their account, though an older bike may come with none. Find the frame's serial number—often under the bottom bracket, though locations vary—and record it with the seller's permission. Check any applicable local stolen-bike registry. If the number is missing or altered, ask why. A bike absent from a registry is not necessarily owned by the seller.
Confirm exactly what comes with the bike. Lights, pedals, a rack or a battery charger may appear in the listing photos but not be included. For an e-bike, check that the charger belongs to its system and ask the seller to demonstrate normal charging. Meet somewhere you can inspect and ride safely, and do not send a deposit just to reserve a bike you have not seen.
Inspect the frame and fork before the components
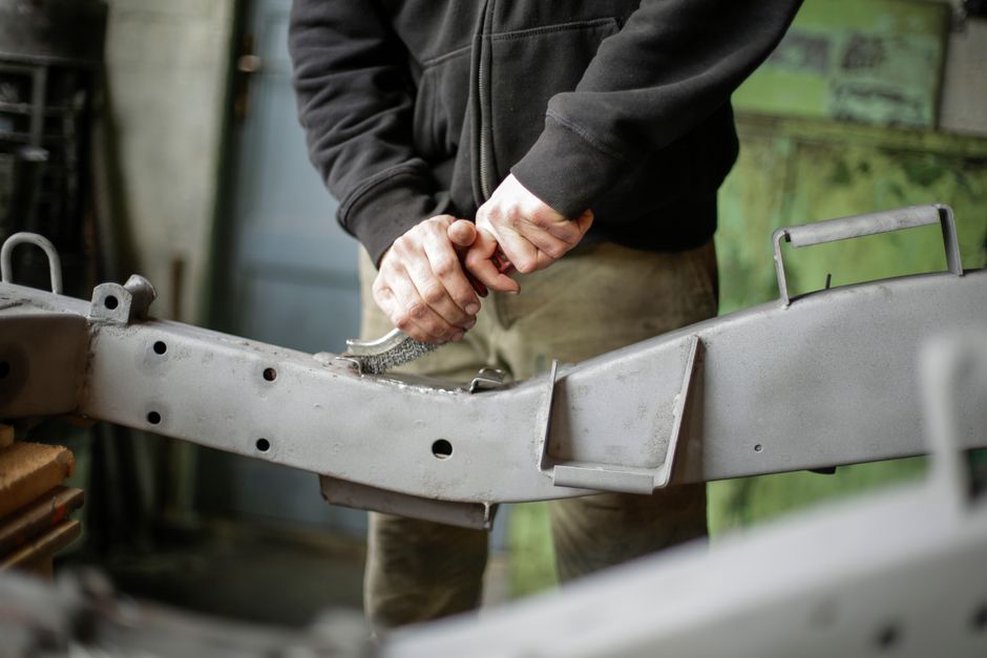
Wipe dirt from welds, tube junctions, the fork crown, and the areas around the bottom bracket and dropouts. Look for cracks, sharp creases, bubbling paint, unusual ripples or corrosion. Ordinary scuffs differ from a dent that changes a tube's shape. Check the underside of the down tube and the chainstays, where damage is easy to miss. On carbon parts, visible cracks, soft spots or signs of a hard impact call for professional assessment; damage may extend beyond what you can see.
Look at the bike from the front and back to see whether each wheel sits centrally in the fork or frame. Check whether the fork looks straight relative to the head tube. An off-center wheel might have a simple cause, but it can also point to bent parts or poor alignment. Photographs alone are not enough to diagnose a suspect frame. If the seller cannot explain apparent crash damage, walk away rather than treating it as a bargaining opportunity.
On a steel frame, look for serious rust around joints and inside any accessible areas. Whatever the frame material, check bottle-cage bolts, rack mounts, the seatpost clamp and other threaded fittings for damage. Ask to adjust the seatpost: a seized one is much easier to discover before you buy.
Check the safety-critical parts
Wheels and tires
Lift each end of the bike and spin the wheel. Watch the rim against a fixed point, such as a brake pad or fork leg. Noticeable side-to-side movement may mean the wheel needs truing. Listen for scraping and check that the wheel is fully seated in its dropouts. Gently move the rim sideways to feel for hub play; the wheel should spin smoothly, without grinding. Lightly squeeze several spokes to spot any much looser than their neighbors, but leave wheel tuning for later.
Check the tires for cuts, exposed casing, bulges and deep cracks. Tread alone tells you little, especially on road tires that have minimal tread when new. On a rim-brake bike, inspect the rim sidewalls for severe wear or a visibly concave braking surface. Damaged tires or rims may need more than a minor adjustment.
Brakes and steering
Squeeze each brake lever firmly. It should not reach the handlebar, and the brake should hold the wheel securely. Check pad thickness and make sure the pads contact the intended braking surface, not the tire. Disc rotors should not be badly bent; persistent rubbing needs investigating. Hydraulic brakes should feel consistent, with no visible fluid around the levers, hoses or calipers.
Hold the front brake and rock the bike forward and back. A knock near the head tube could mean a loose headset or another fault that needs diagnosing. Next, lift the front wheel and turn the handlebar slowly. Steering should feel smooth, with no notch when the wheel points straight ahead. Check that the handlebar and stem are secure, and inspect beneath grips or bar tape for hidden damage where practical.
Test the drivetrain under gentle load
Turn the cranks backward and forward, listening for grinding and looking for a visibly bent chainring. Hold a crank arm and try moving it sideways; pronounced play needs a closer look. Check that the pedals spin freely and that neither a crank nor a pedal is cracked.
On the test ride, shift through every gear you can safely use. Shifts should be reasonably prompt, without repeated skipping or the chain falling off. If the drivetrain skips when you pedal harder, the cause could be a worn chain and sprockets, poor adjustment or another fault. Do not assume a quick adjustment will solve it. A chain-wear gauge can help estimate chain wear, but it cannot tell you the condition of every drivetrain part.
If the bike has suspension, inspect the fork stanchions and rear shock shaft for scratches or oil residue. Compress the suspension and listen for unusual knocks. Ask when it was last serviced; that work can add substantially to the cost. On an e-bike, try each assist level and check that the display, cutoffs and controls behave normally. A charge reading alone will not tell you the battery's health.
Turn inspection findings into a realistic price
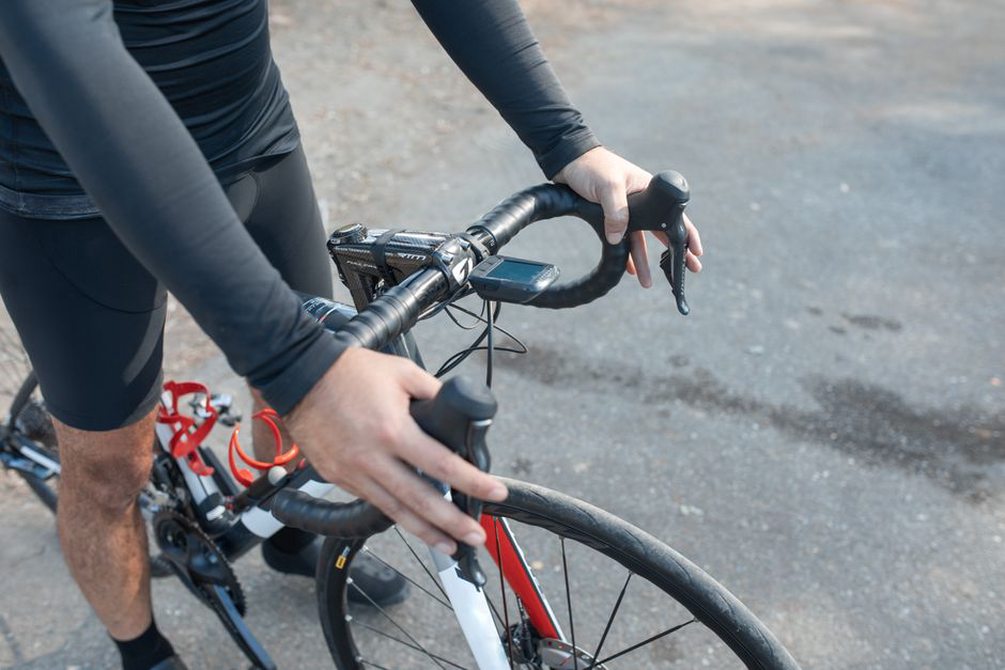
Include a safe stop and a few gear changes on the test ride. Ride long enough to notice noises that do not appear when the bike is stationary, but keep both hands on the handlebar when checking how it tracks. If the seller will not allow a ride, ask why and decide whether an inspection without one gives you enough confidence.
Sort what you find into safety concerns, necessary repairs and optional improvements. A cracked frame, unreliable brakes or unexplained structural damage is not the same as worn grips or a scratched saddle. If you cannot judge a fault yourself, get a repair estimate from a bike shop—particularly for hydraulic brakes, wheels, suspension or an e-bike battery. Compare the asking price with similar used bikes nearby, then factor in likely repairs and missing essentials such as a charger.
Before paying, record the serial number, agreed price, date and included parts. A simple bill of sale signed by both parties gives you a useful record. If the bike needs tires, base your offer on the cost of the tires and fitting rather than accepting a vague claim that it only needs a tune-up.